Installing the EZTitles Plug-in for Cambria is a straight forward process. You just have to click on the Wizard's Next button, like any other Windows compliant application, until you have fulfilled all the instructions.
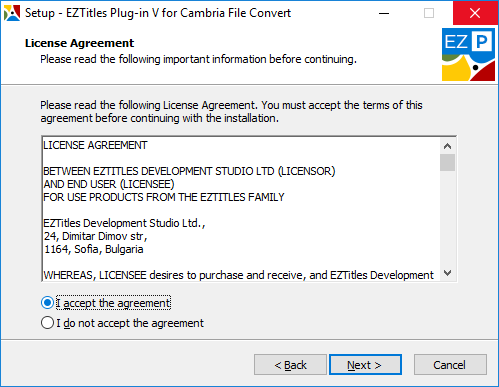
Lets now focus on the steps you are required to make a decision. At first you will come across the following dialog where you must accept the License Agreement in order to proceed with the installation process:
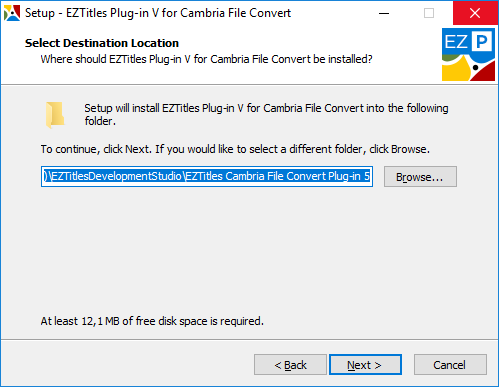
The next dialog needs you to specify the Plug-in installation folder which will contain all the resource files required for your software to function normally.
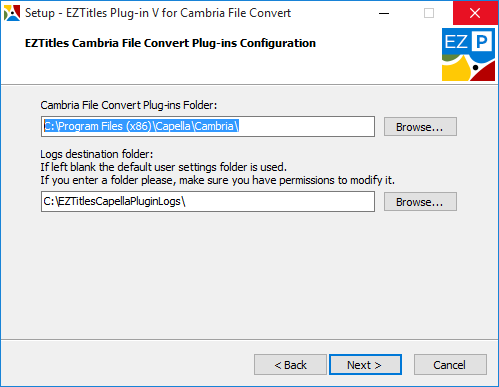
At the next page you are asked to specify the Cambria plugins folder. Usually the installer will detect the correct path but if by any reason the displayed folder is not correct you can use the Browse button. Following is the default path which is used in most frequently:
C:\Program Files (x86)\Capella\Cambria\
The EZTitles Plug-in adds warning and error logging features and the next step will be to select the error/warning log's folder. There are two types of log files - the one intended to keep all the warnings and the second for the errors detected. The installer automatically selects the C:\EZTitlesCapellaPluginLogs folder and sets such access permissions for it that any user can modify its contents . If you choose to select different, previously created folder you may also need to modify the access permissions for it accordingly.
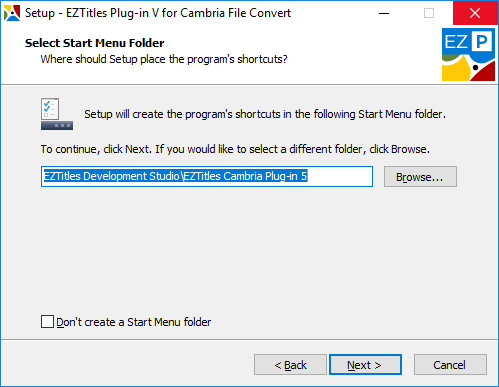
The next dialog will ask you to specify a Start Menu folder for Plug-in's shortcuts and Help files will be placed. You may also choose to skip the folder creation by checking the Don’t create a Start Menu folder checkbox.