Installing EZTitles Plug-in for Adobe Premiere® is pretty straightforward. You just have to click the Next button after you’ve fulfilled the instructions on every page of the wizard.
So we will focus only on the pages where you will be asked to make a decision. Eventually you will come across the following dialog:

License Agreement
After you have read and agreed to the EZTitles Plug-in for Adobe Premiere® software license, click the Next button and you’ll see the following dialog:

Destination Folder Selection
Here you need to specify the directory, where EZTitles Plug-in for Adobe Premiere® will be installed. Your Program Files folder is selected by default, but you can easily change it.
If you’re unsure, just click on the Next button and another dialog will show:
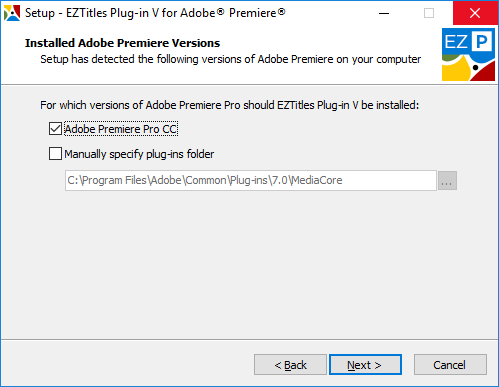
At this point the Installer has detected which Adobe Premiere versions are installed on this computer. You can use the Plug-in with any of them by clicking the appropriate checkbox.
To verify if the Plug-in has been installed and registered properly, please open the About dialog by clicking on the respective About link on the Properties dialog.
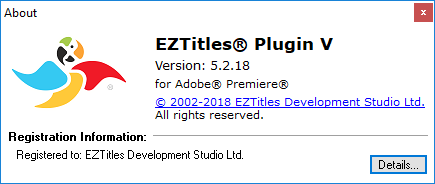
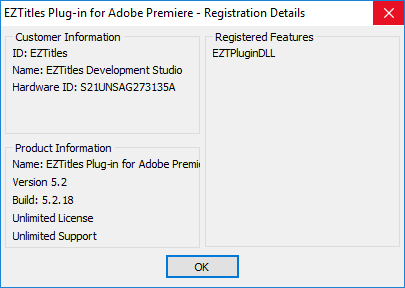
Pressing the Details... button shows more information about your license:
The About box can be started by clicking on the About link at the Configuring Subtitle Properties dialog.